Takeout Food Photos That Match the Delivered Meal
Photographing takeout food accurately requires showing dishes in the actual packaging guests receive, staging containers to reveal interior contents, and distinguishing dine-in presentations from delivery-specific menu listings. When an online customer opens a third-party app or web ordering portal, the food photograph establishes their expectation of portion size, garnish, and container volume. Presenting an elaborately plated ceramic dish when the meal arrives inside a compartmentalized paper carton or lidded bowl creates an immediate visual mismatch. Effective takeout food photography balances appetizing visual clarity with physical truth, helping restaurant operators align digital menu imagery with kitchen packaging standards.
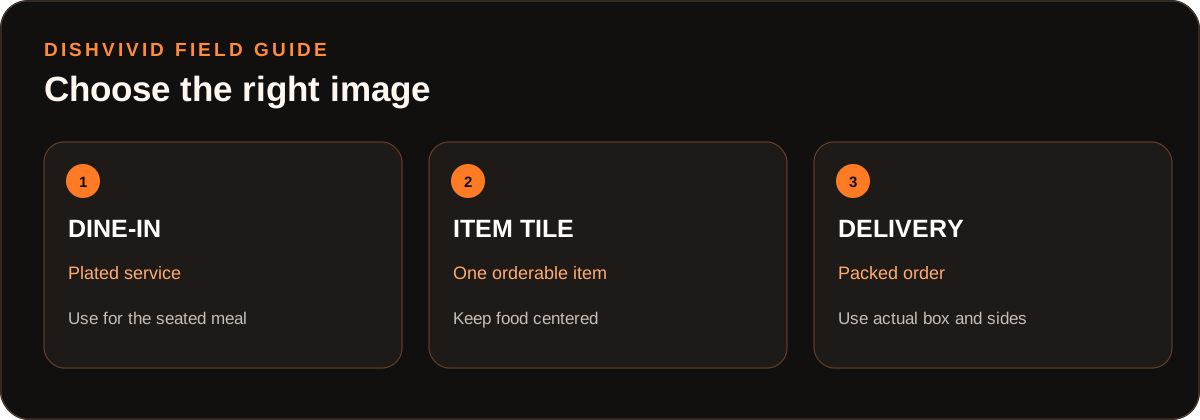
Editorial diagram for planning; it is not a customer photo or measured result.
Why Dine-In Photos Create Delivery Disconnects
Dine-in menu photography relies on elements that rarely translate to delivery transit: wide ceramic rims, delicate vertical stacking, loose garnishes, and wide sauce sweeps. In an in-house dining room, dishes are served seconds after leaving the pass.
In a takeout workflow, the physical environment changes completely:
- Steam and Moisture: Enclosed lids trap residual heat and moisture, softening crisp coatings and wilting fragile herbs such as microgreens or shaved cilantro.
- Settling and Compression: Vehicle motion and gravity settle food downward during transit, compressing fluffy salads or loose noodle mounds into the lower third of deep bowls.
- Sauce Migration: Drizzled reductions and dressings pool at the bottom of the container or coat the underside of packaging dividers.
When an online listing features a dine-in photograph, diners evaluate the delivered container against a tabletop standard. Even if the kitchen prepares the exact weight and portion specified on the recipe card, the visual discrepancy can lead customers to believe their order was shorted or hastily assembled. Establishing visual parity on digital ordering platforms requires photographing meals in their genuine delivery configuration.
The Three Core Visual Formats: Dine-In, Thumbnail, and Delivery Context
Operators managing both in-house service and online ordering channels benefit from establishing distinct roles for their menu assets. Rather than applying a single photo across every channel, separate your visual assets into three distinct formats:
- Dine-In Plated Shots: Reserved for in-house digital boards, physical print menus, table-side ordering tablets, and general brand marketing. These images highlight ceramic tableware, artistic plating, and full table spreads.
- Item Thumbnails: Structured for mobile ordering grids where screen space is constrained. These shots isolate the primary protein or dish against a neutral background at a 45-degree angle or overhead view, allowing diners to identify the core item instantly.
- Delivery-Context Packaging Images: Staged directly inside or alongside the restaurant's branded takeout packaging. These images show the exact lidded bowl, foil-lined bag, or vented box, making it unmistakable how the food arrives at the customer's door.
Dine-In vs. Delivery Image Decision Table
The following matrix provides restaurant operators with a clear operational guide for choosing the correct photo format based on dish behavior, packaging containers, and intended ordering channels.
(Note: The matrix below is an editorial illustration created to guide restaurant operators during menu prep; it does not represent customer case data.)
| Image Format | Order Contents & Physical Setup | Platform Role & Accuracy Guardrails |
|---|---|---|
| Dine-In Plated Shot | Full table setting; ceramic or glassware tableware; open sauces and loose vertical garnishes. | On-Premise & Brand Hubs: Use on marketing landing pages; never use as the primary listing photo for delivery-only combo packs. |
| Menu Item Thumbnail | Cropped view focusing on the primary entree; clean surface; tight framing to show protein texture and color. | Mobile Search Grids: Use in fast-scroll mobile category lists where small screen dimensions require rapid item recognition. |
| Delivery-Context Packaging | Food presented in standard delivery container; lid positioned adjacent; separate side sauces displayed in ramekins. | Delivery Platform Listings: Required for takeout apps to establish realistic portion, packaging material, and component separation. |
| Deconstructed Broth/Sauce Setup | Dry ingredients resting in primary bowl; liquid components sealed in secondary leak-resistant cups. | Specialty Item Modifiers: Essential for soups, stews, and noodle bowls where customers must assemble or pour broth at home. |
| Multi-Item Family Bundle | All included boxes, sides, sauces, and utensils arranged in a single organized flat lay or 45-degree angle. | Catering & Combo Headers: Must display every item included in the bundle price without adding unbundled drinks or extra sides. |
Step-by-Step Workflow for Photographing Packaged Takeout
Photographing food inside takeout containers introduces optical challenges, notably high container rims that cast harsh shadows across the food. Follow this structured capture workflow to keep contents visible and packaging crisp:
- Tare and Pack According to Service Specs: Have the kitchen pack the order using standard line containers, tare weights, and designated portion scoops. Avoid overfilling the container to make the food look larger.
- Wait Three Minutes Before Staging: Stage the packed item after a realistic pause in your normal delivery workflow. This replicates actual operational settling and lets surface steam normalize before you position your camera.
- Control Rim Shadows with Diffused Side Light: Deep paper bowls and cardboard cartons block overhead light. Position your primary light source at 90 degrees to the side, diffused through a scrim or white panel, and place a white foam bounce board directly opposite the light to lift shadows inside the container wall.
- Stage Lids Offset or Flat Beside the Base: If shooting lidded containers, position the lid angled slightly behind or resting flat beside the open bowl. This confirms the container style to the diner while keeping the food unobstructed.
- Photograph Ancillary Condiments in Place: If dressings, lime wedges, or crispy toppings are delivered in separate 2-ounce ramekins, place those exact ramekins next to the main carton rather than pouring them over the dish prior to the shot.
Platform standards detailed in the DoorDash Merchant Menu Photography Guide emphasize that natural lighting and honest dish representation are fundamental to helping customers understand what they are buying.
Worked Example: Takeout Noodle Bowl (Hypothetical Menu Item)
(Note: The following example is a hypothetical menu item created by the DishVivid Editorial Team for illustrative training purposes, not a real restaurant test.)
Consider a braised pork noodle bowl served with bok choy, half a seasoned soft-boiled egg, scallions, and a 10-ounce savory pork broth.
- The Packaging Reality: In the restaurant dining room, the dish is served in a wide ceramic bowl with hot broth poured over noodles. For delivery, packaging the broth with the noodles causes the starch to absorb liquid during transport. Standard takeout packaging requires dry noodles, pork, egg, and greens packed in a 32-ounce round paper bowl, with the hot broth sealed in a separate 12-ounce leakproof cup.
- The Staging Mistake: The operator photographs a single steaming ceramic bowl from an in-house table setting. When the delivery customer receives two separate paper containers, they perceive a gap between the menu picture and their physical order.
- The Accurate Capture: The operator positions the open 32-ounce paper bowl at a 45-degree angle. The noodles, sliced pork, bok choy, and egg are arranged exactly as packed by line cooks. The sealed broth container stands upright in the background, with its lid securely on, and the paper lid of the noodle bowl rests neatly to the side.
This framing informs the diner that the broth arrives separately and requires pouring, preventing surprises upon delivery.
Operational Trade-Offs and Failure Modes
Balancing transparent packaging photos with appetizing aesthetics requires addressing distinct operational failure modes:
- Condensation on Clear Lids vs. Food Visibility: Clear plastic lids trap moisture droplets immediately, obscuring the food underneath. Rather than wiping down the lid repeatedly or spraying artificial anti-fog chemicals, remove the lid or place it tilted behind the container. Never use fake chemical sprays on food intended to demonstrate real kitchen output.
- Container Edge Glare vs. Neutral Exposure: Polypropylene containers and aluminum foil linings create intense specular reflections under direct lighting. Soften your light sources and use matte paperboard or unbleached kraft containers when possible. For foundational lighting setups, explore our broader menu photography guides on the DishVivid blog.
- Evaluating Raw Files in DishVivid Studio: After capturing your set, upload images to DishVivid Studio to make manual lighting, exposure, and crop adjustments. Studio tools assist in leveling container horizons and adjusting color balance. When evaluating optional AI image candidates, compare the generated image against the physical packaging and reject any candidate that alters container materials, changes branding, or inflates food volume beyond the actual serving portion.
Operator Pre-Publish Checklist
Before publishing takeout imagery to your delivery channels, run through this verification checklist:
- Food is staged inside the exact container type and material (paper, foil, molded fiber) used during service.
- Fill level and portion size reflect standard kitchen recipe weights without artificial packing.
- Ancillary items delivered separately (broths, dressings, sauces, sides) are shown in their individual service ramekins.
- No dine-in ceramic bowls, glassware, or non-takeout table props appear in delivery-specific shots.
- Side lighting and bounce boards are positioned to eliminate dark interior shadows along container edges.
- Lids are clearly visible either beside or behind the open container to convey packaging closure.
- Framing and crop reviewed in DishVivid Studio against the physical takeout order.
Sources
- DoorDash Merchant Menu Photography Guide — Primary platform guidance on menu photography standards, lighting, and honest dish representation for digital storefronts.